Message Creation
App Inbox Workflow Step
Creating a workflowFollow the workflow creation documentation to complete all the steps till the Workflow step in the wizard.
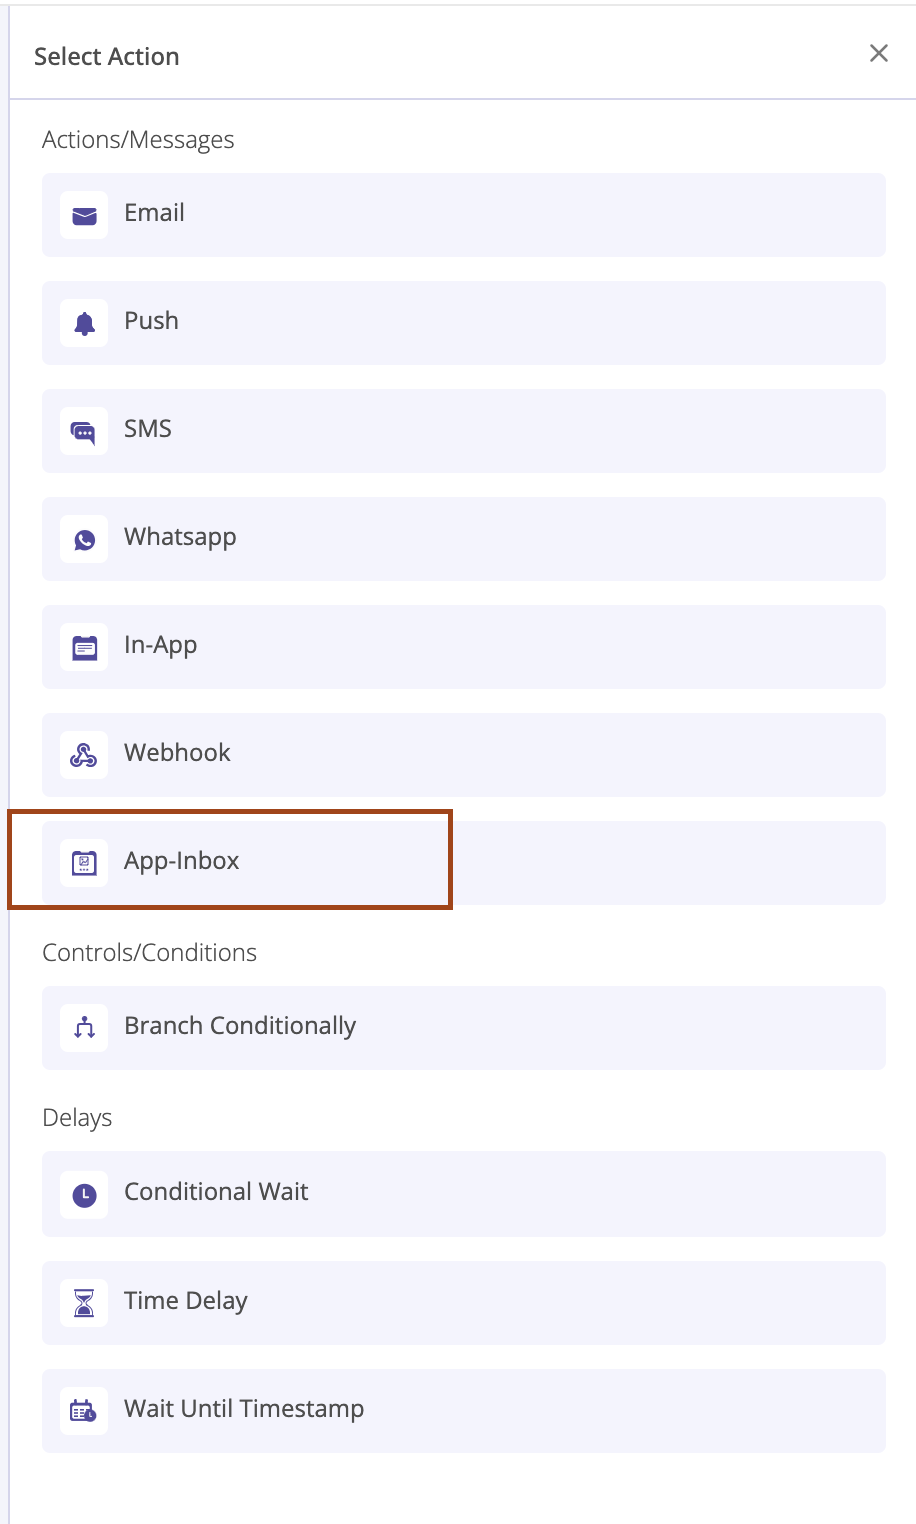
Select the ‘App Inbox’ Action
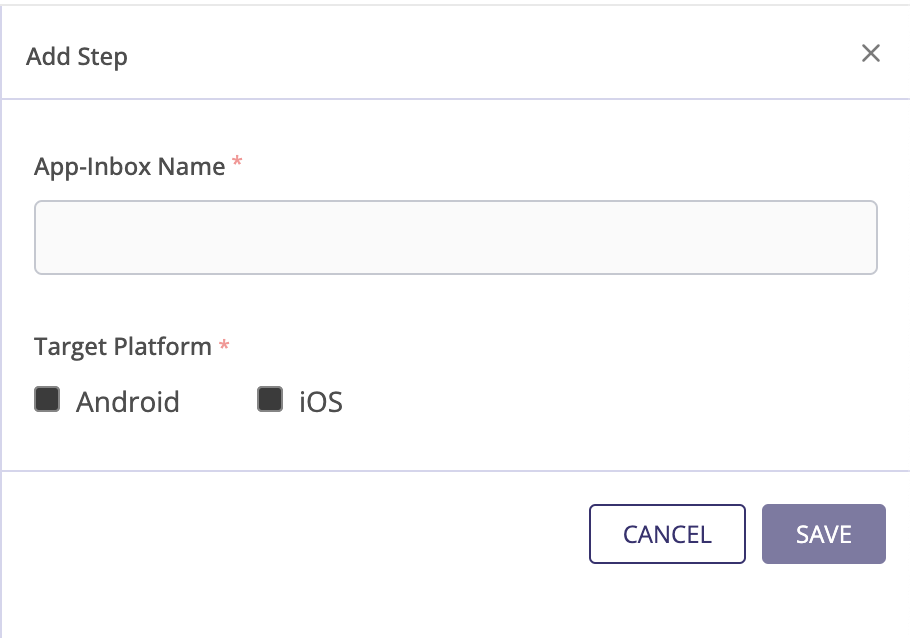
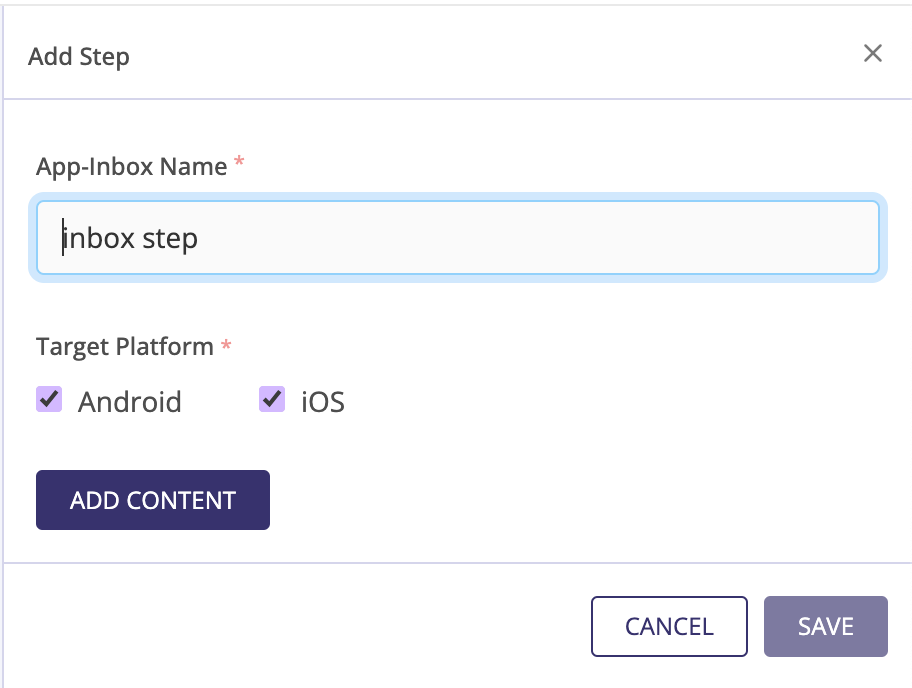
Enter the step name and select the target platforms
Click on ADD CONTENT to add the message contents
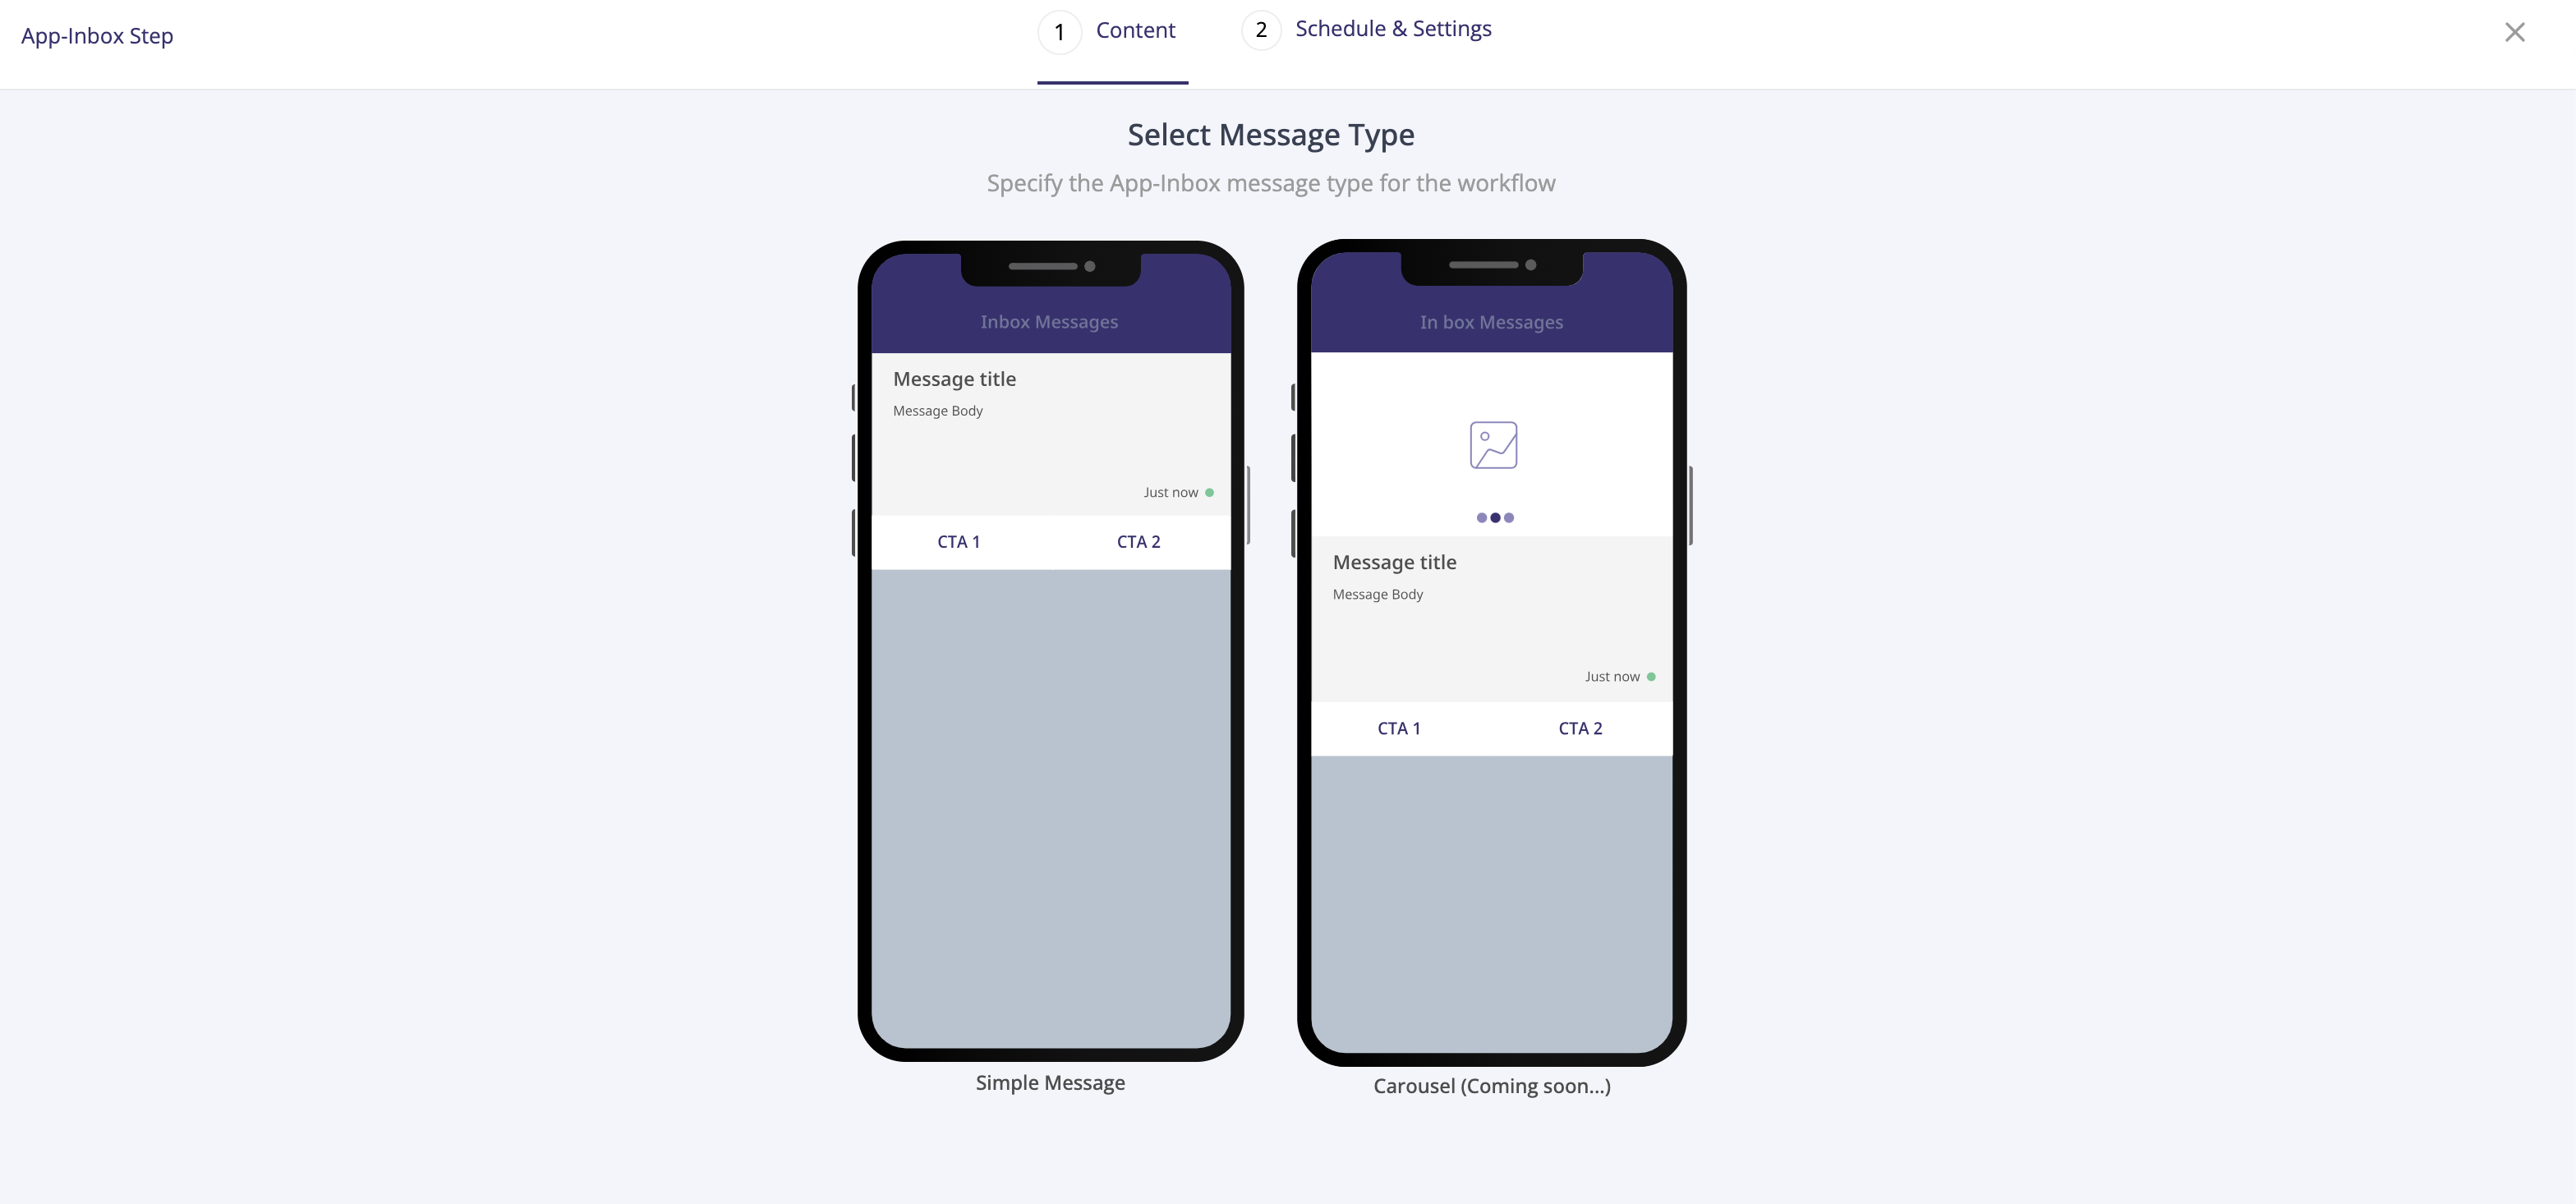
Select the message type
The two supported messages types are- Simple Message
- Carousal Message - Coming soon
Select the message template
Select the message template for the message type captured in the previous step.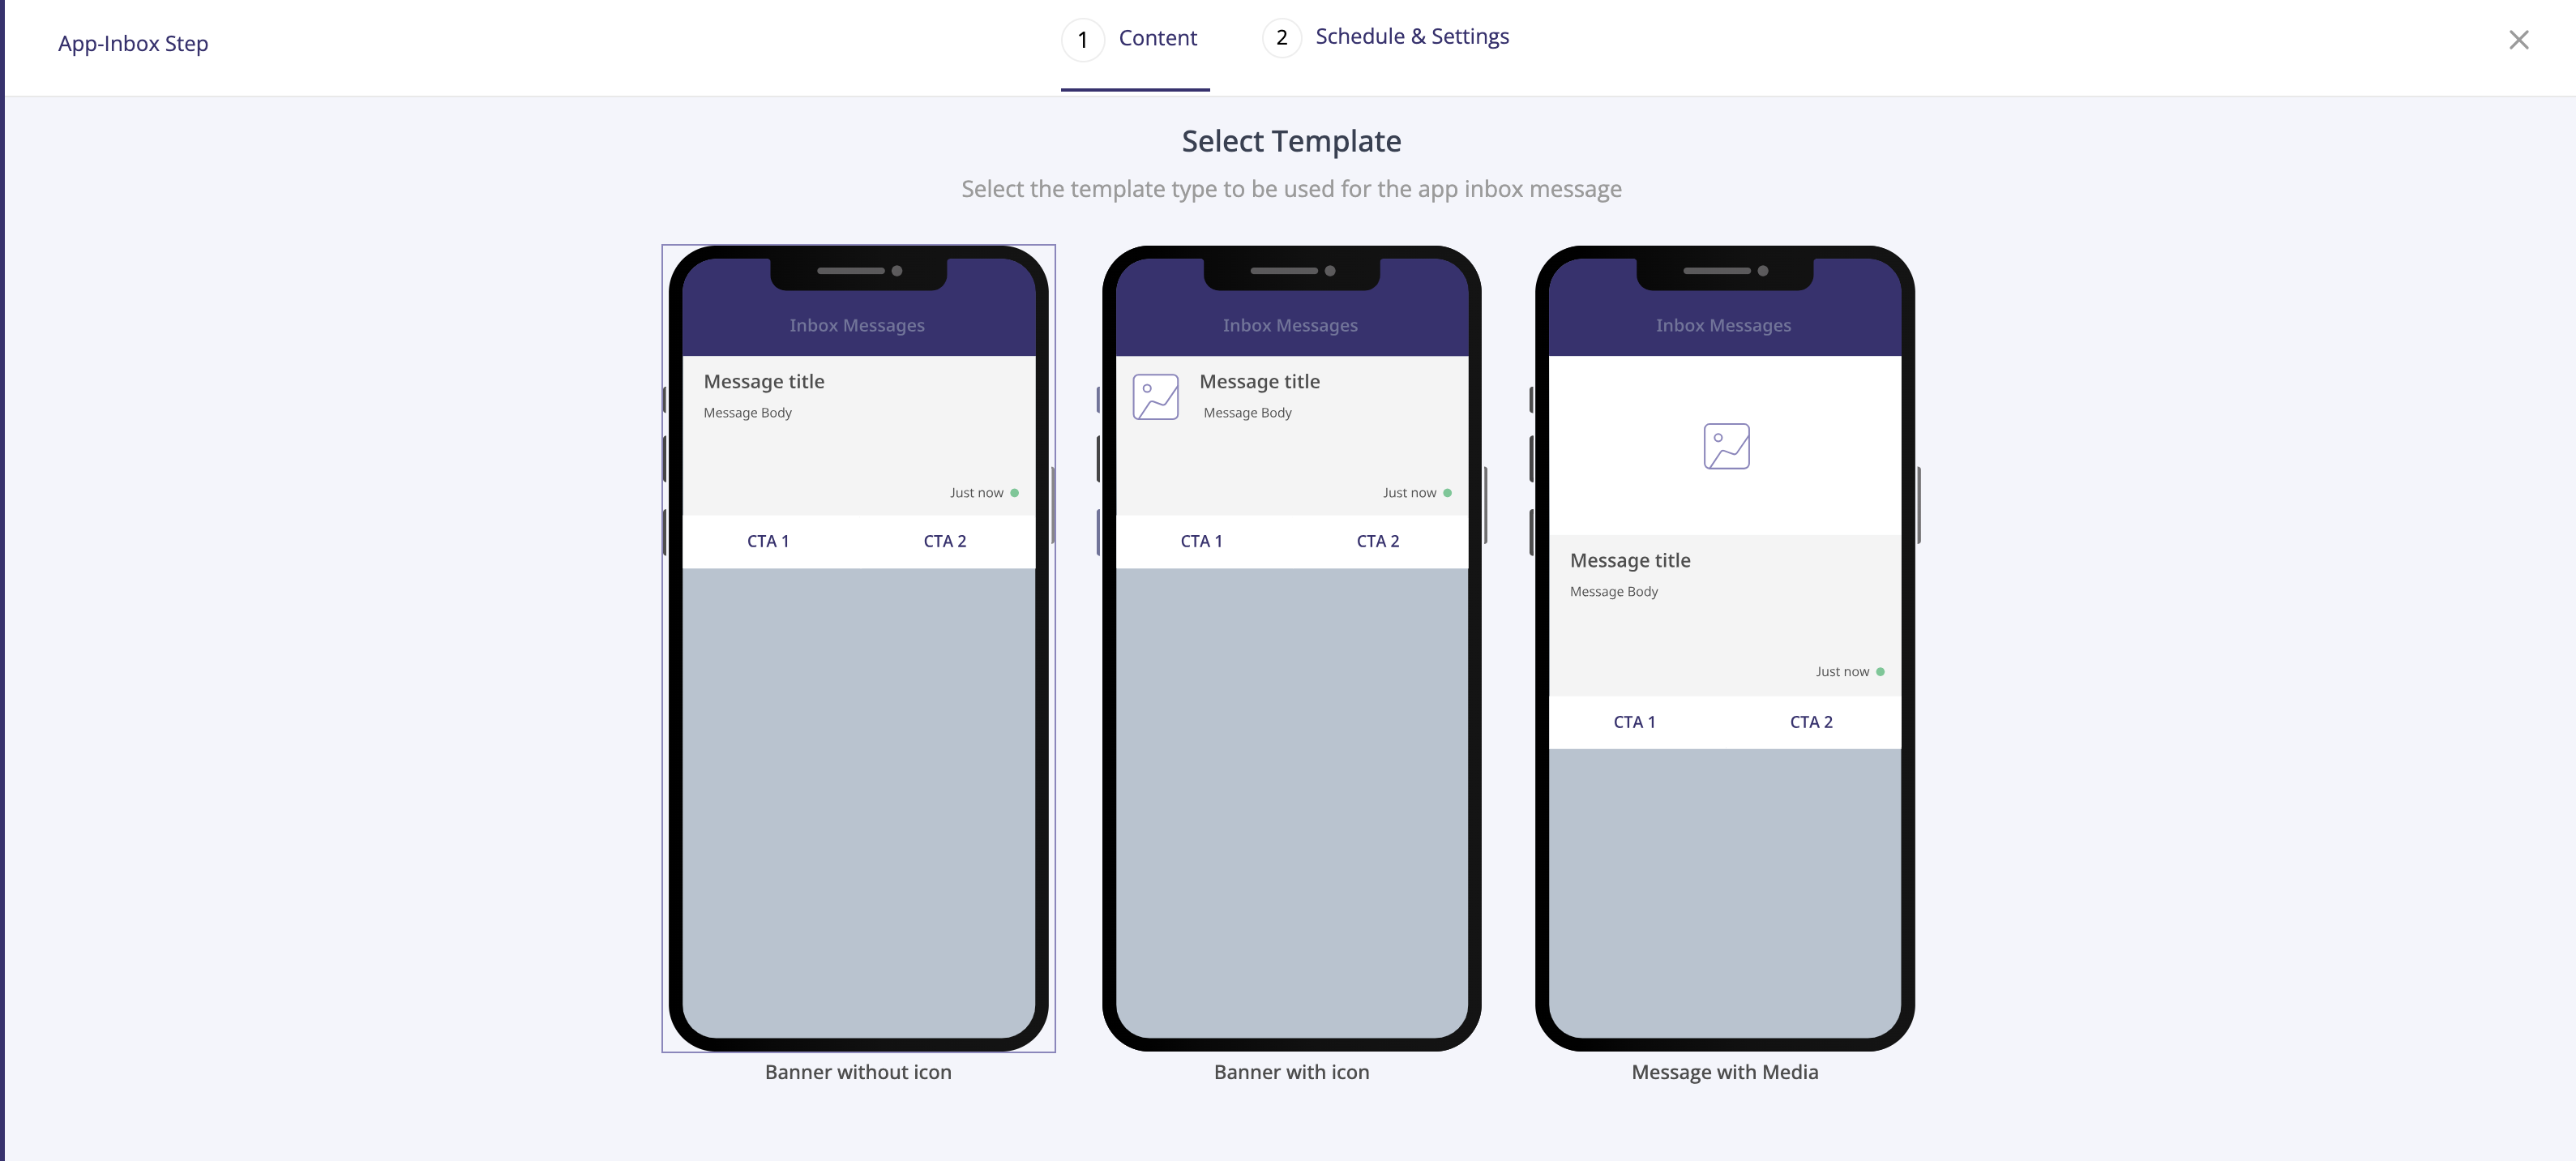
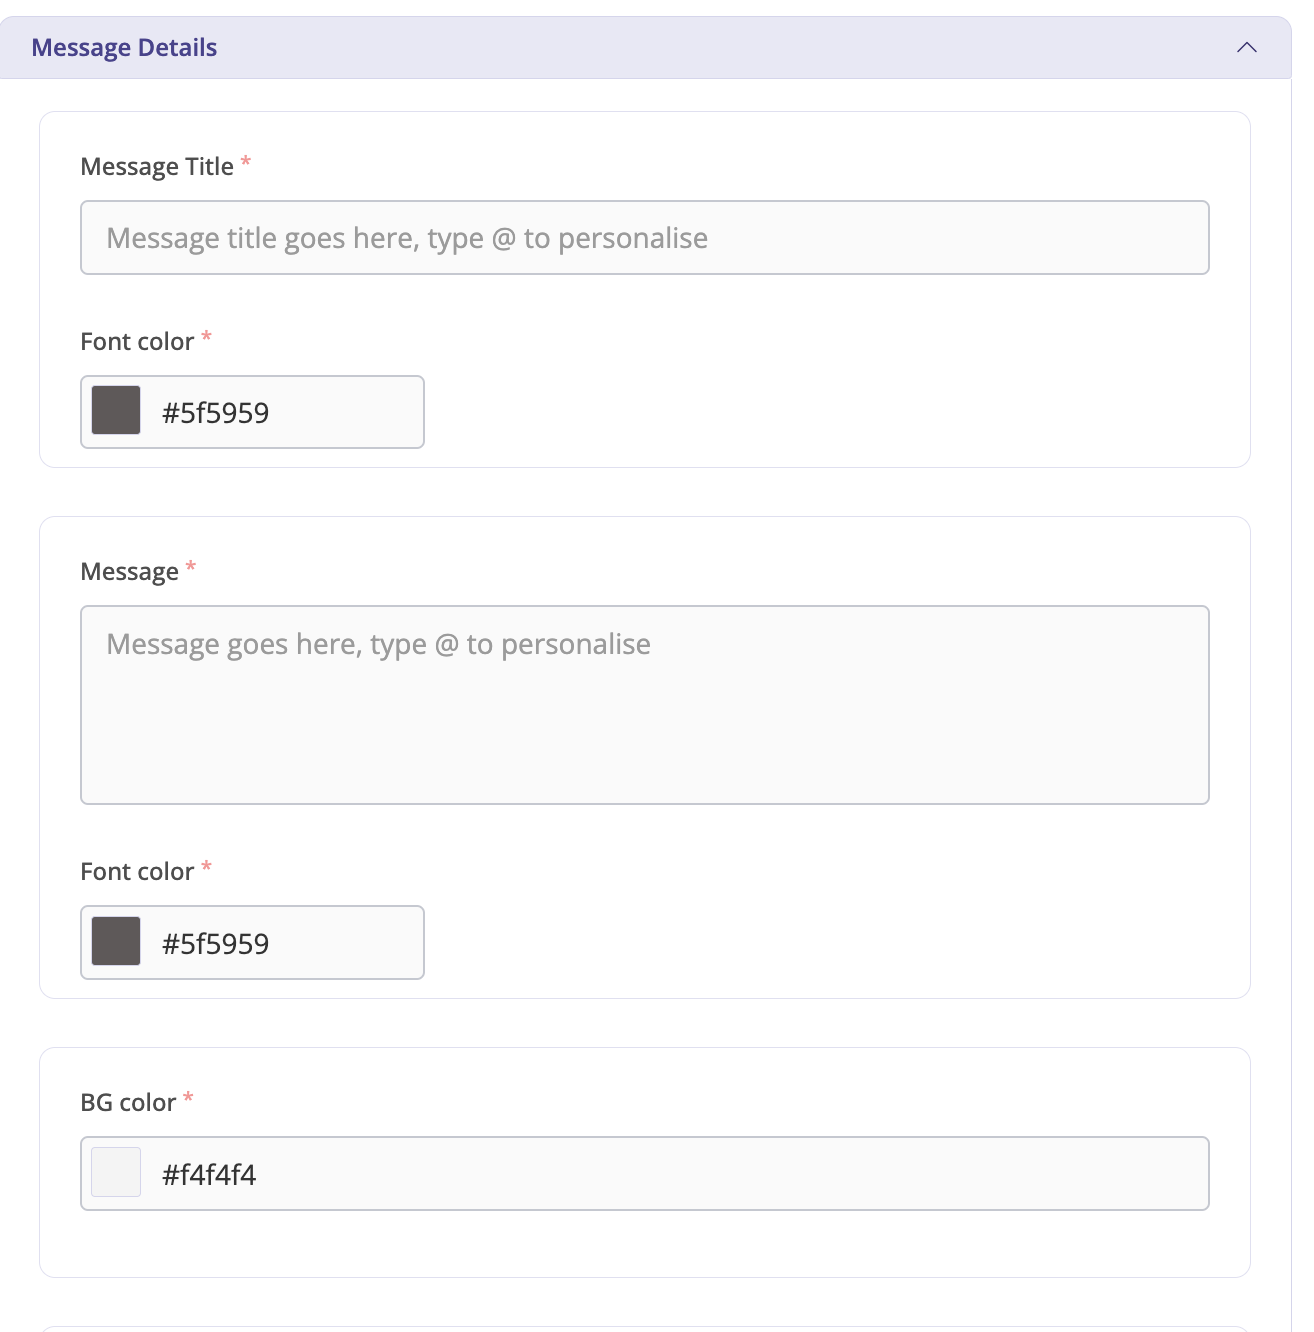
Capture the Message Content
- Message details
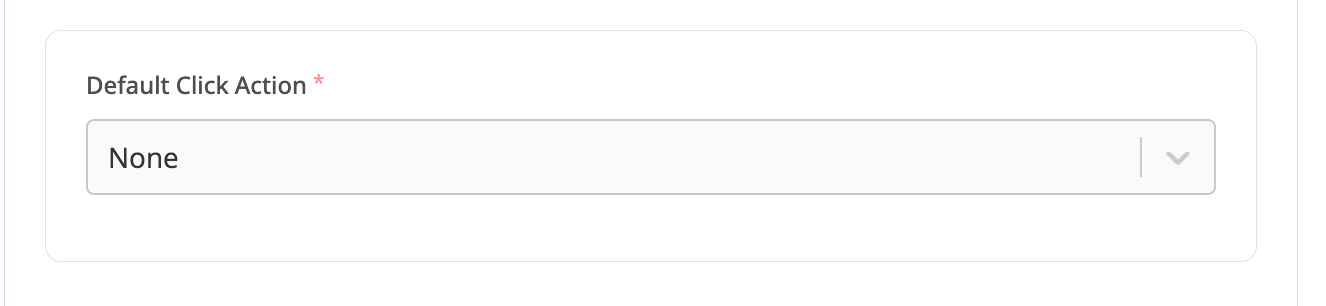
- Default click Action
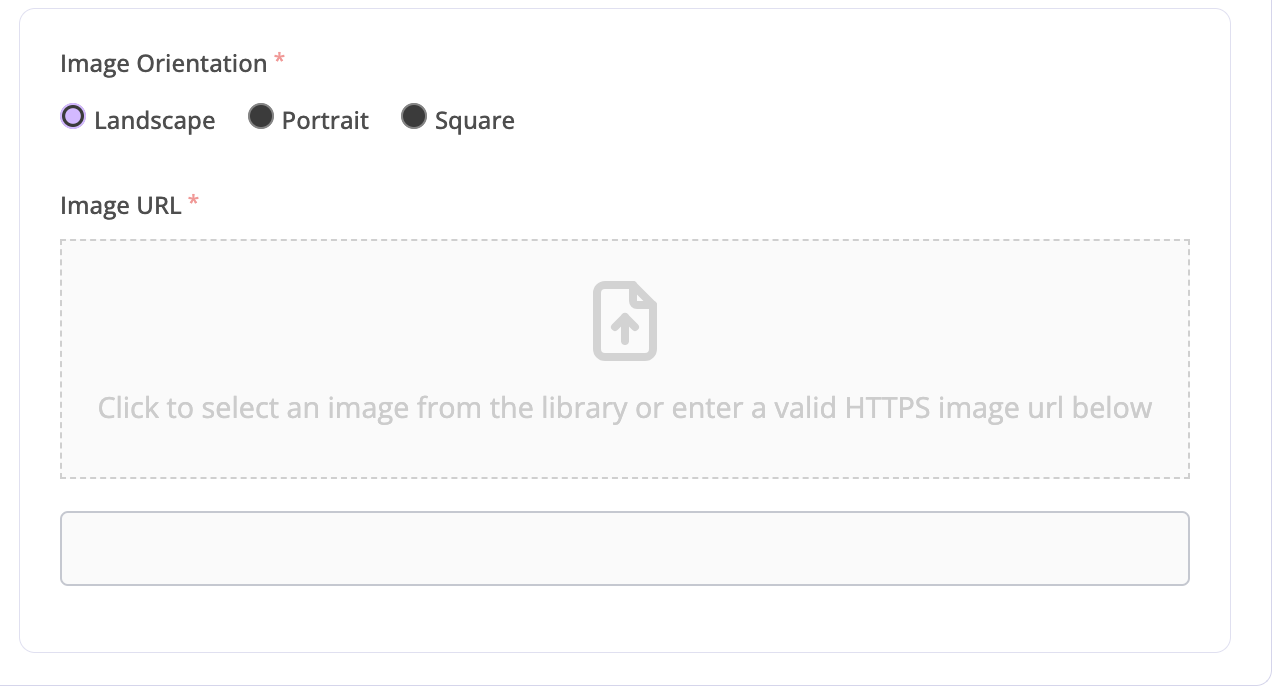
- Upload Image
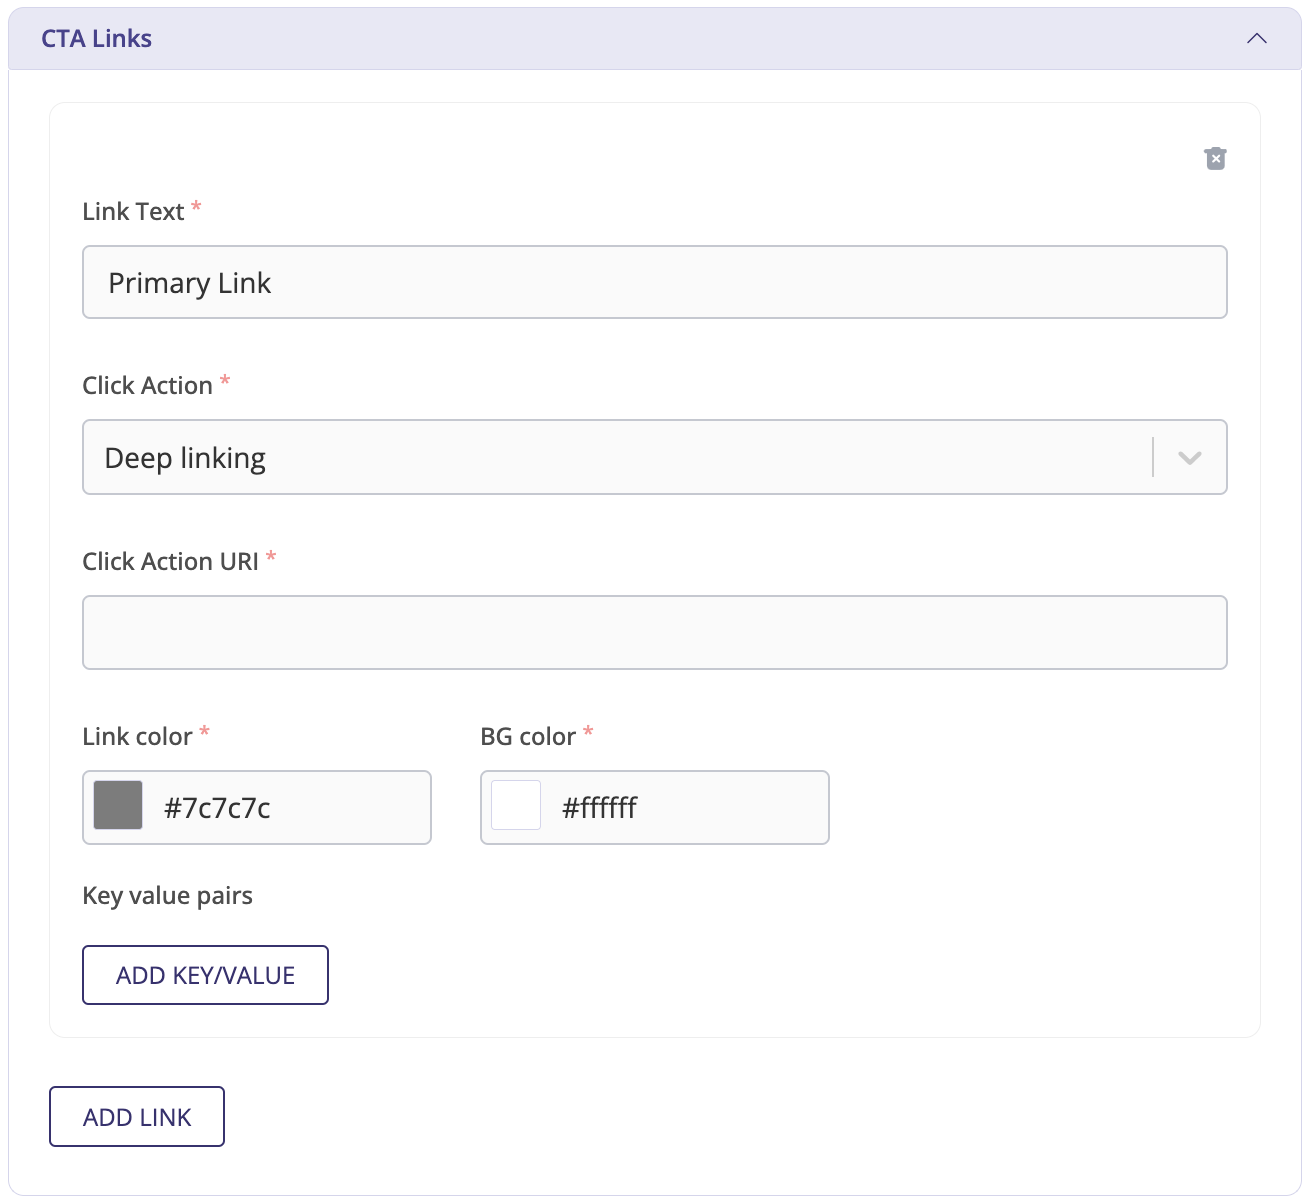
- CTA Links
- Link Text
- Click Action
- Click Action URI
- Link Color & BG Color
- Optional Key Value pair details
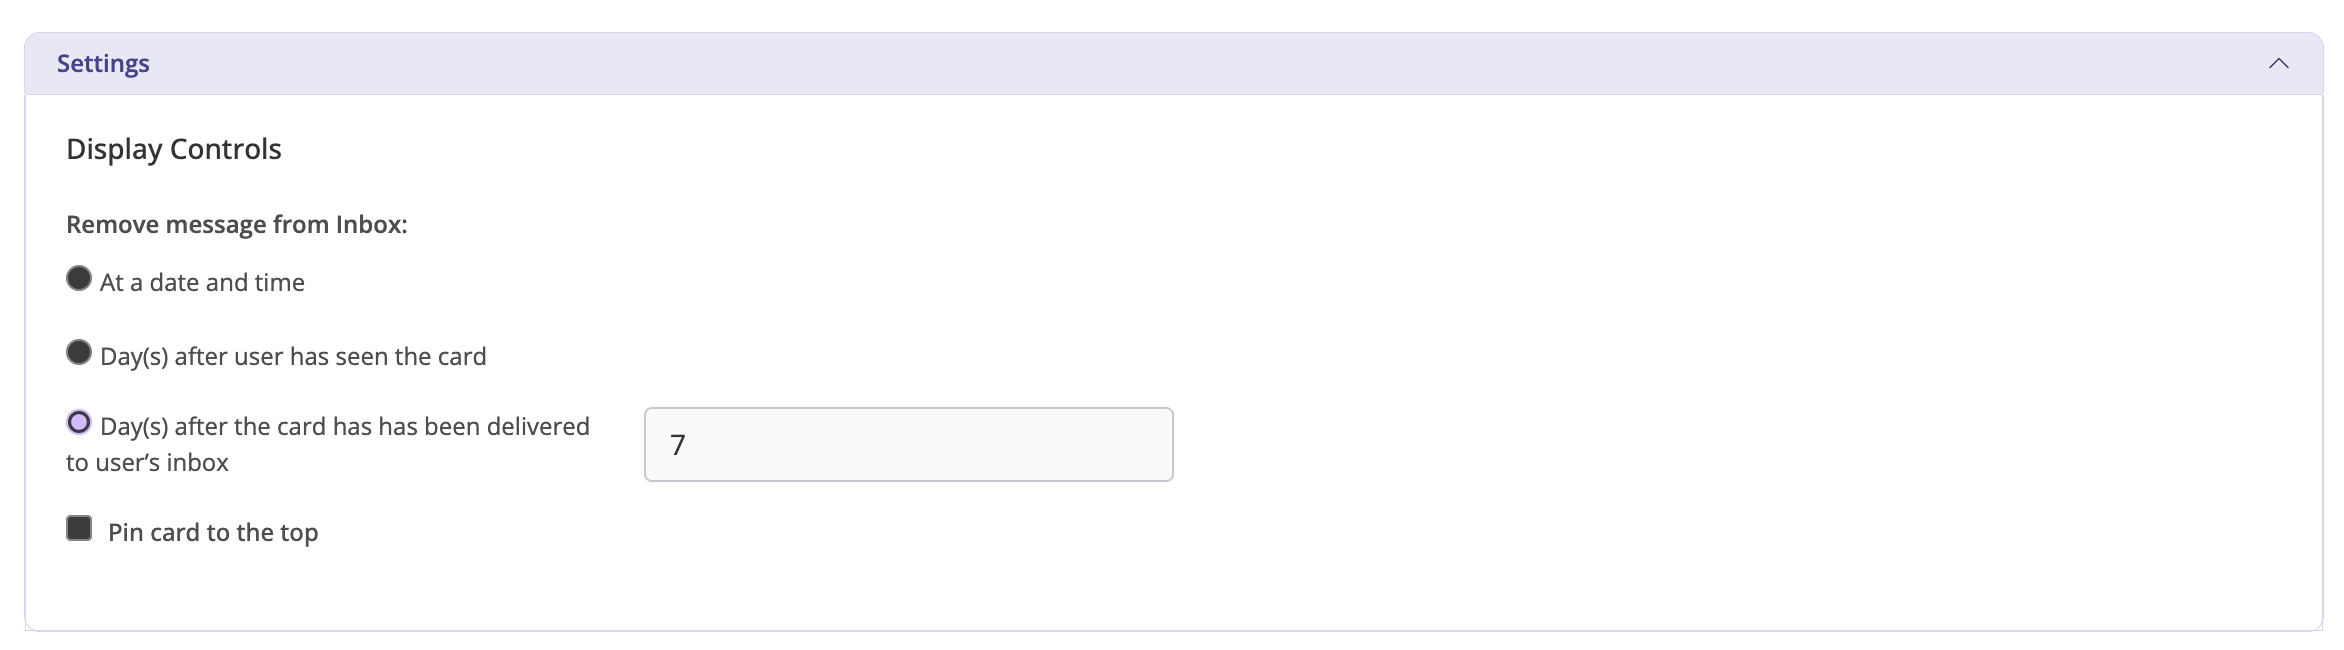
- Setting
- Criteria for removing a message from the inbox
- Provision to pin the card to the top
Adding the step to the workflow
Once the message content details are captured, the inbox step can be added to the workflow. At this point ADD CONTENT button changes to EDIT CONTENT which indicates the message content is already added which can now only be modified.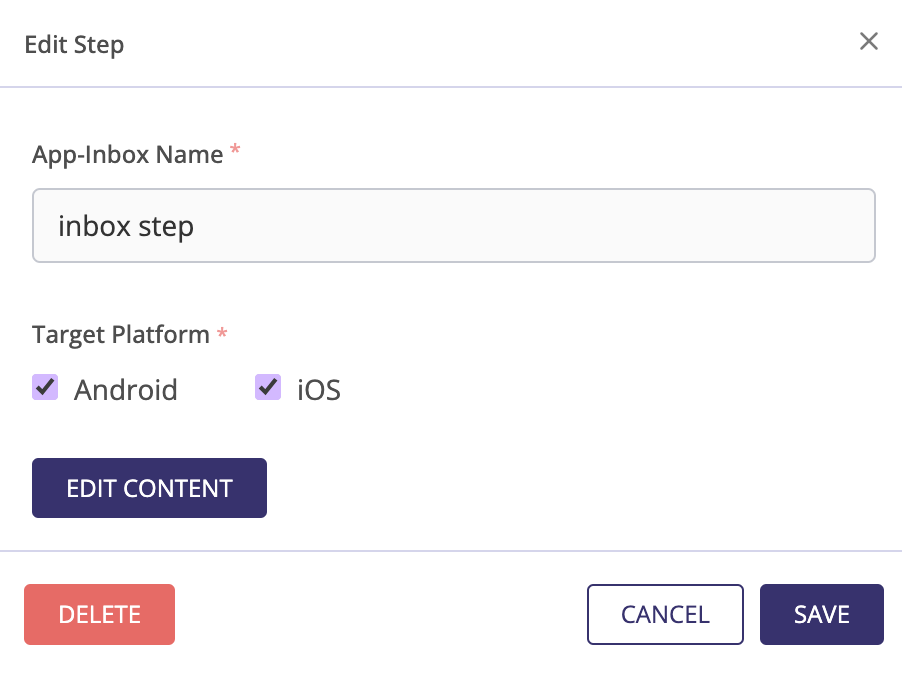
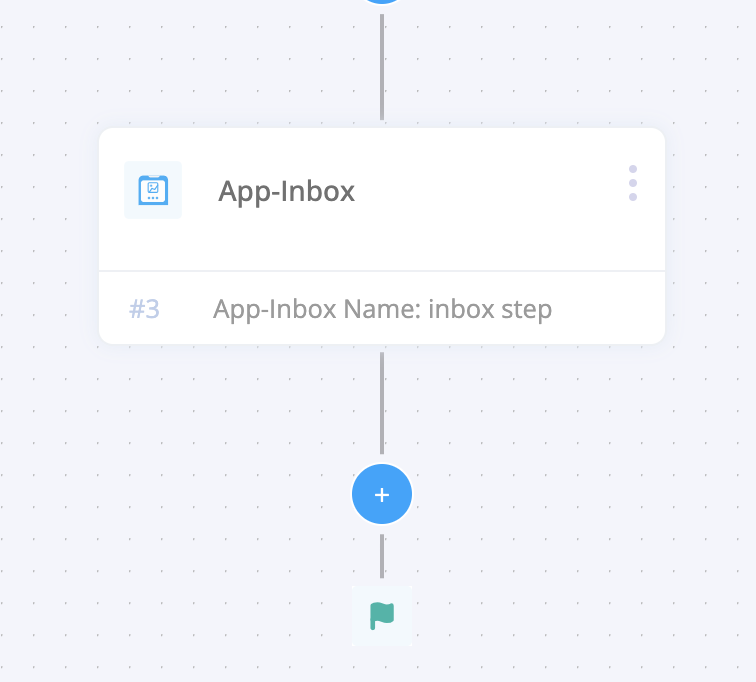
Inbox Step appears in the Workflow.