Message Creation
WhatsApp Workflow Step
Creating a workflowFollow the workflow creation documentation to complete all the steps till the Workflow step in the wizard.
Select the WhatsApp step
Select the ‘WhatsApp’ Action from the modal
Enter the step details
Enter the step name and click on ADD CONTENT to add the WhatsApp message details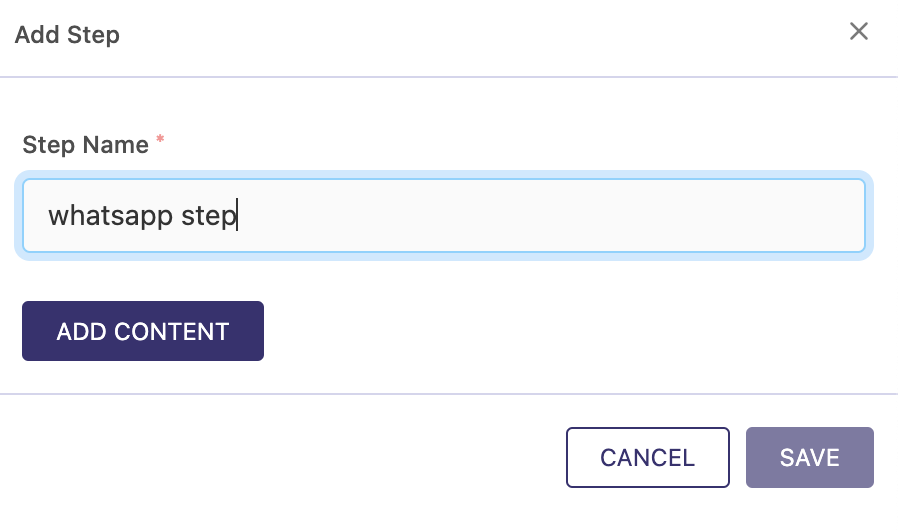
Capture the WhatsApp Content details
Step 1 : Select the WhatsApp BSP config Step 2 : Select the template from the selected config Step 2 : Enter the WhatsApp content with required personalisation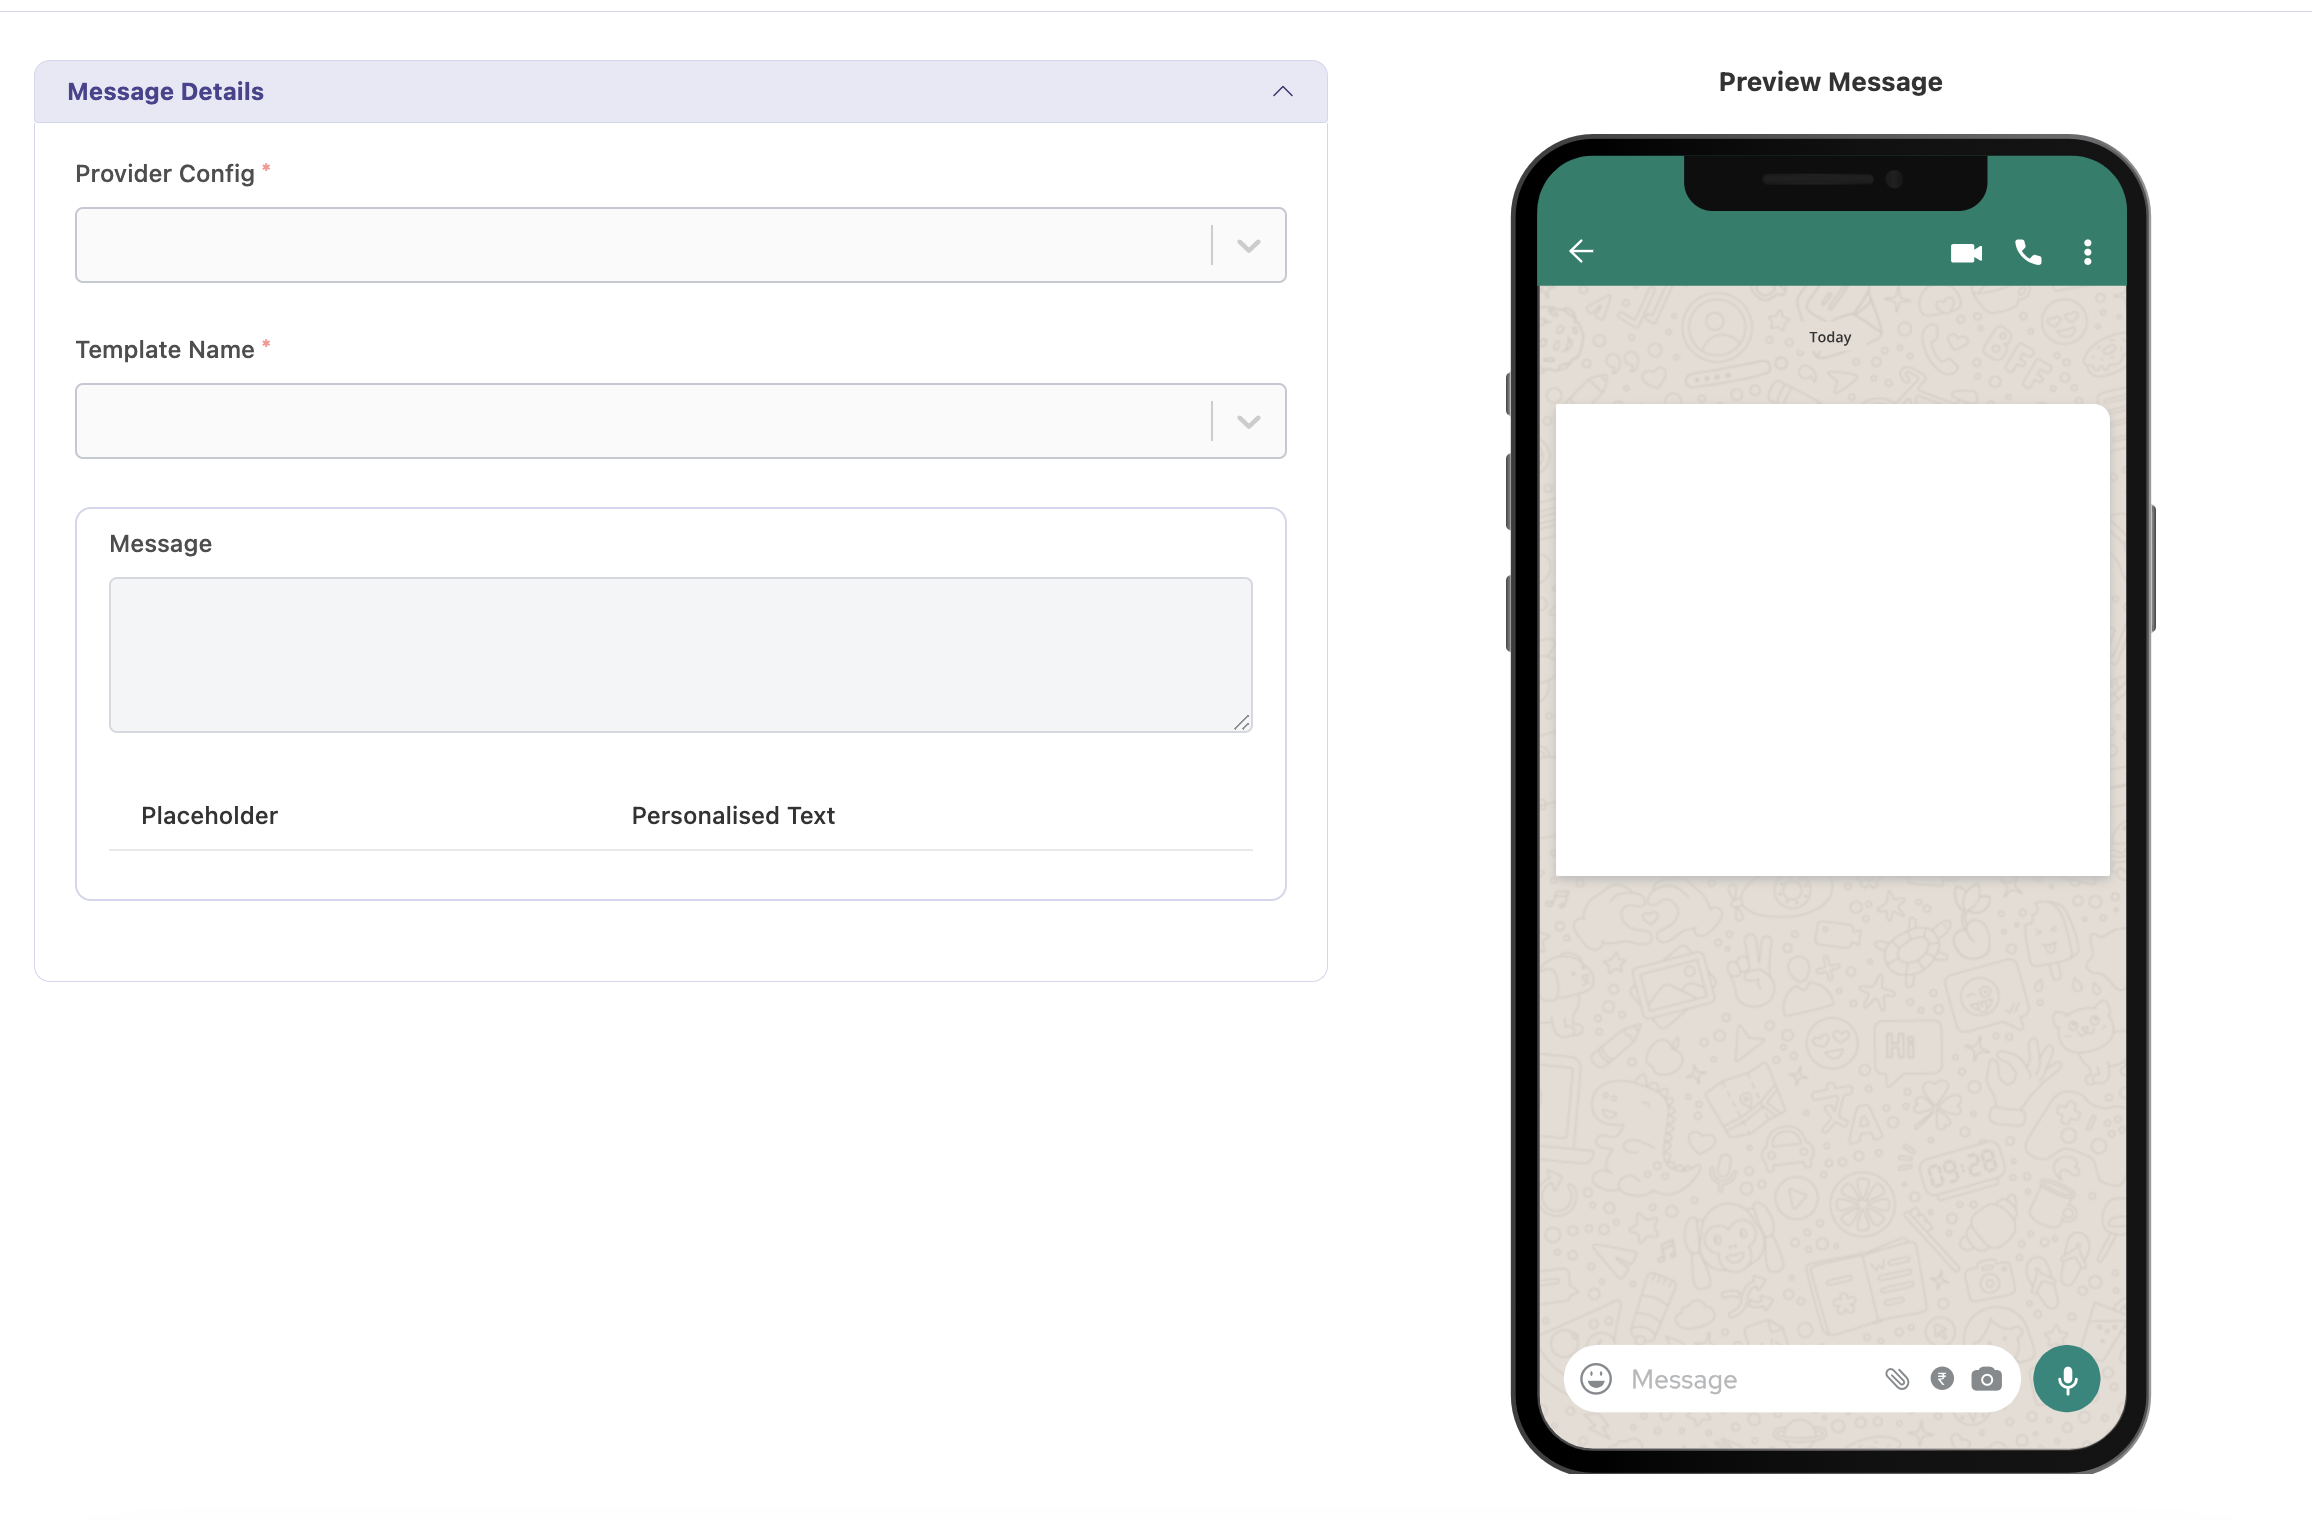
Adding the step to the workflow
Once the WhatsApp message details are captured, the Email step can be added to the workflow. At this point ADD CONTENT button changes to EDIT CONTENT which indicates the message content is already added which can now only be modified.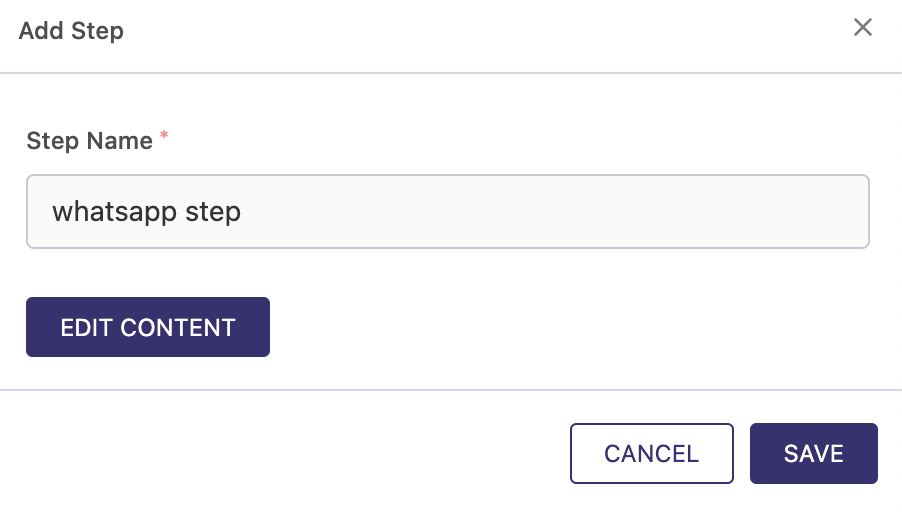
WhatsApp Step appears in the Workflow.
